4.7 Creating CategoryScheme
A CategoryScheme groups similar objects based on shared characteristics, providing a hierarchical structure that helps classify and organise data and metadata meaningfully.
It is crucial to distinguish between topics and specific indicators within those topics. For instance, in this user manual, we have used two indicators as examples: ‘Unemployment Rate by sex and region’ and ‘Population outside the labour force by sex and age group.’ Although these indicators focus on different aspects, they both fall under the broader topic of the Labour force.
Referencing our two initial tables (Table: 4.1 and Table: 4.2), we will create a CategoryScheme in the SDMX Constructor. The categorisation would be by the topic ‘Labour force’.
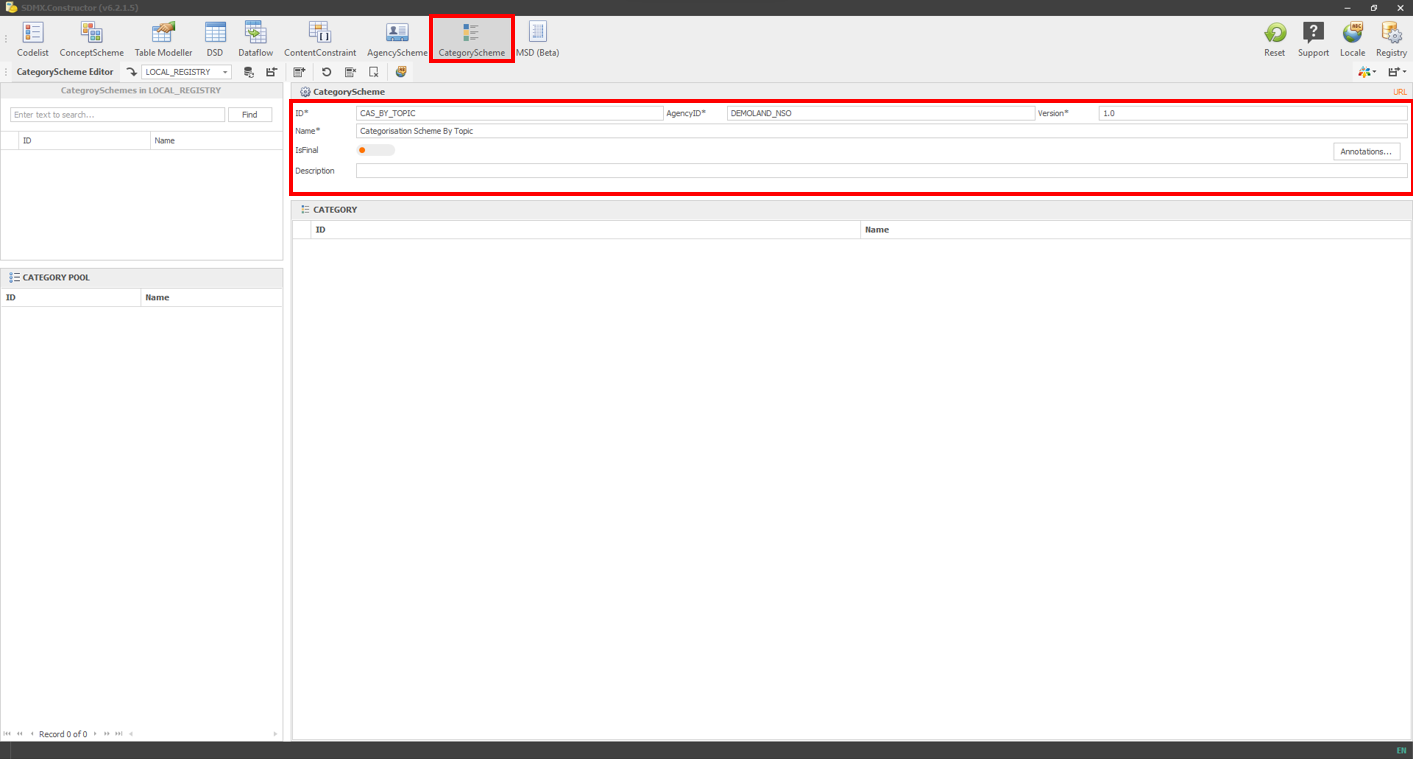
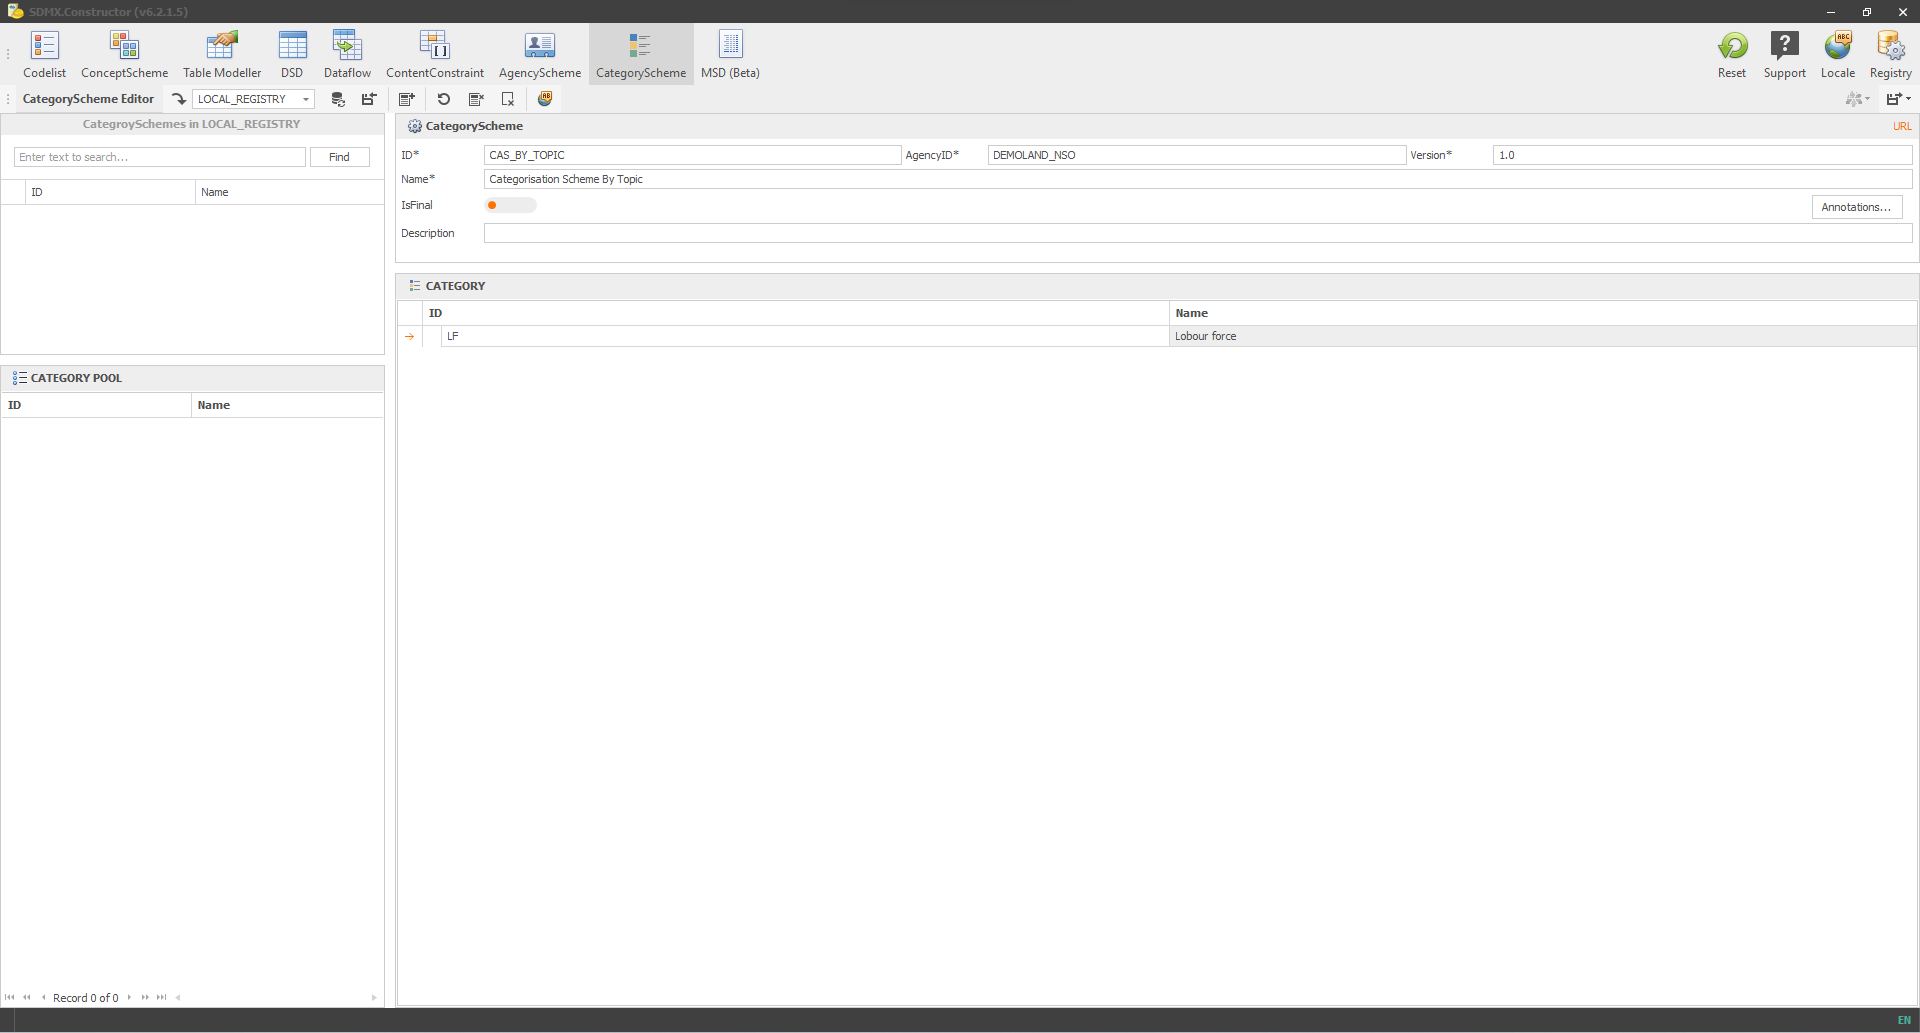
- First, we will click the CategoryScheme button and enter the properties (ID: CAS_BY_TOPIC, AgencyID: DEMOLAND_NSO, Version: 1.0 and Name: Categorisation Scheme By Topic) as shown below.
 Click here to enlarge the image
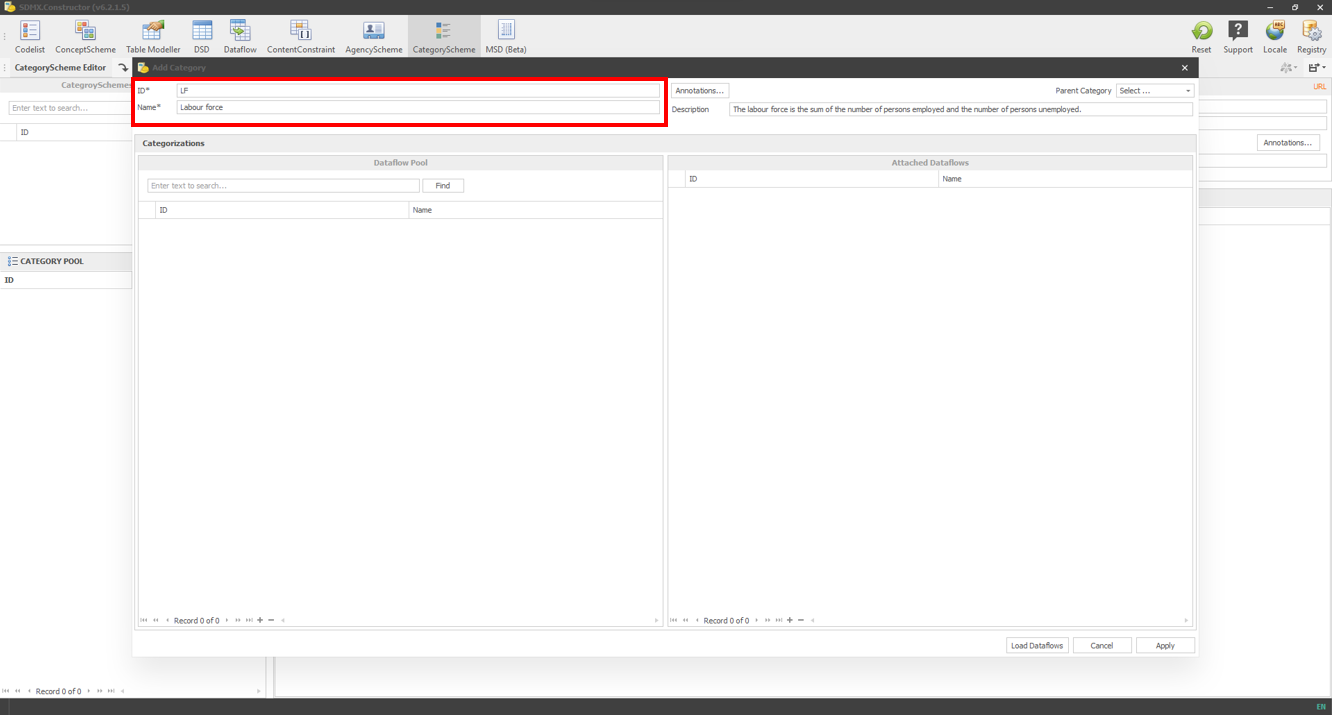
- Click on “Add New Category”, as shown below.
 Click here to enlarge the image
- It will open a pop-up window, as shown below. Enter the details: ID: LF (shorthand for Labour force), Name: Labour force and Description: The labour force is the sum of the number of persons employed and the number of persons unemployed.
 Click here to enlarge the image
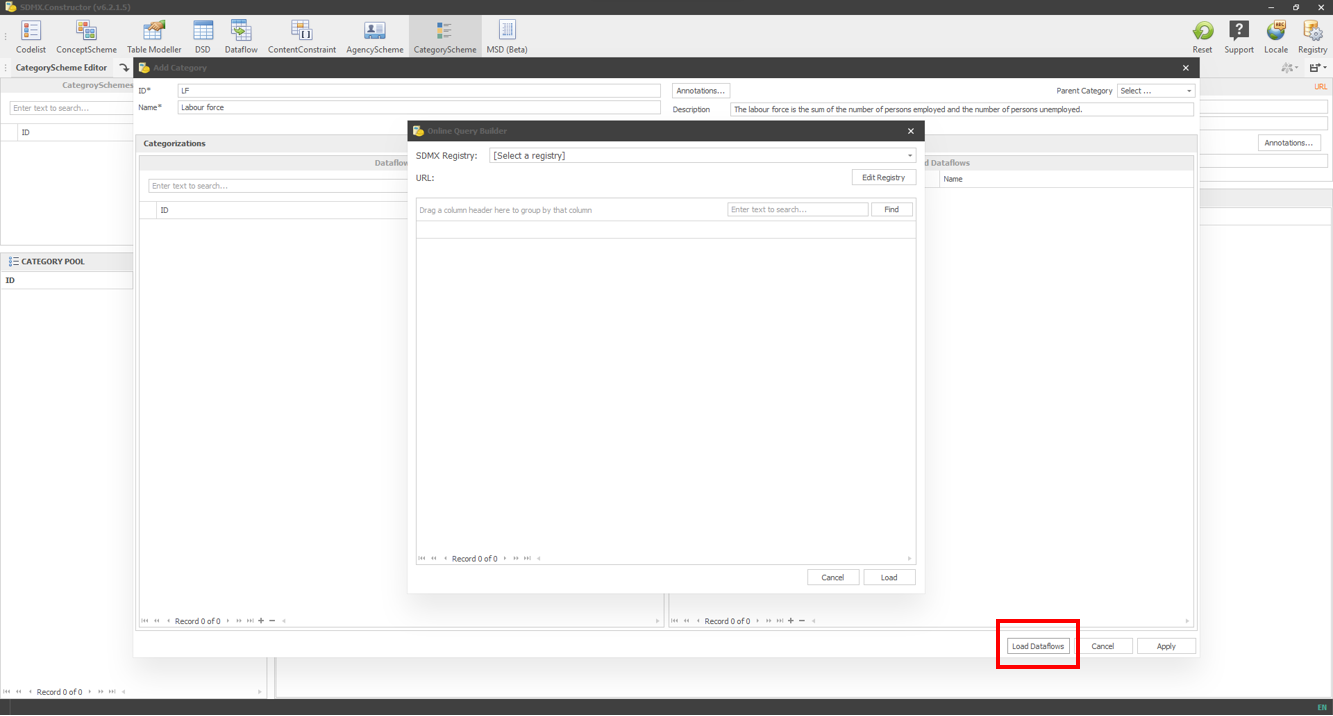
- Click on the Load “Dataflows” button, as shown below. It will open another pop-up window to select the dataflows through the Registry.
 Click here to enlarge the image
- Select the Registry (LOCAL_REGISTRY), then the dataflows, and press Apply as shown below.
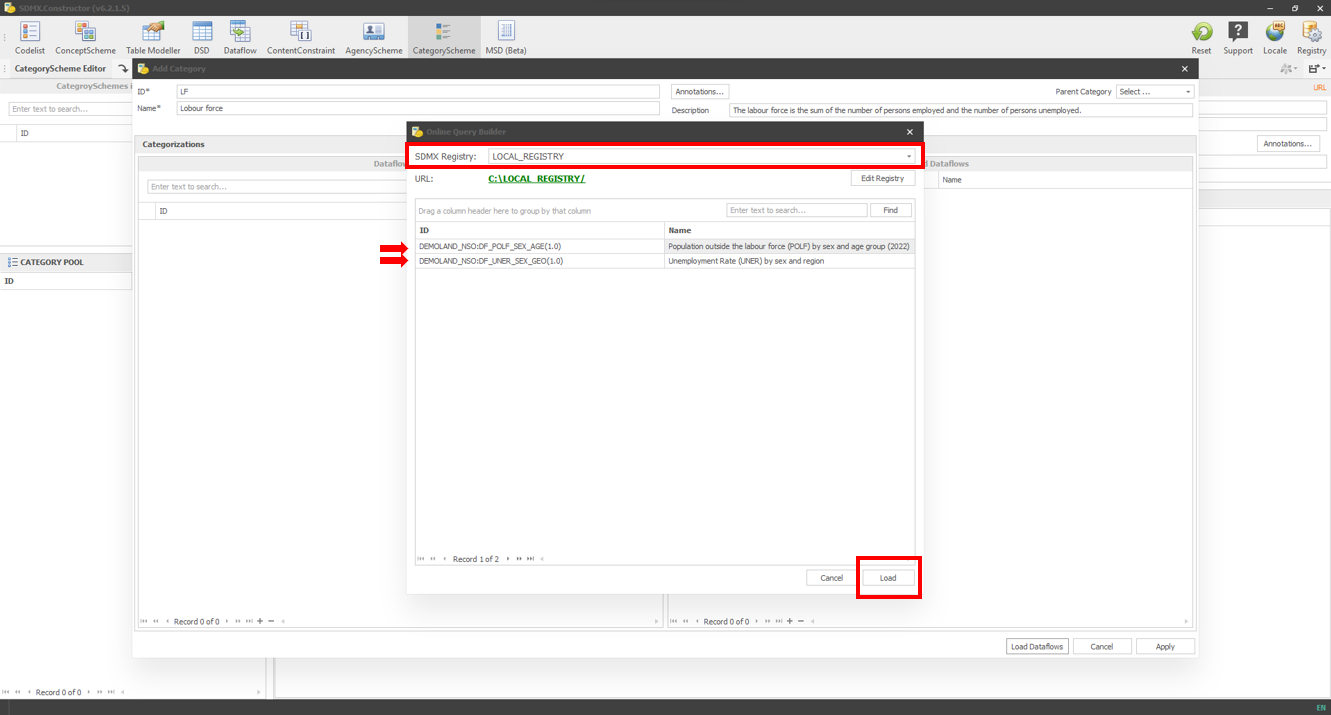 Click here to enlarge the image
- The resulting window will show the two dataflows in the dataflow pool, as shown below.
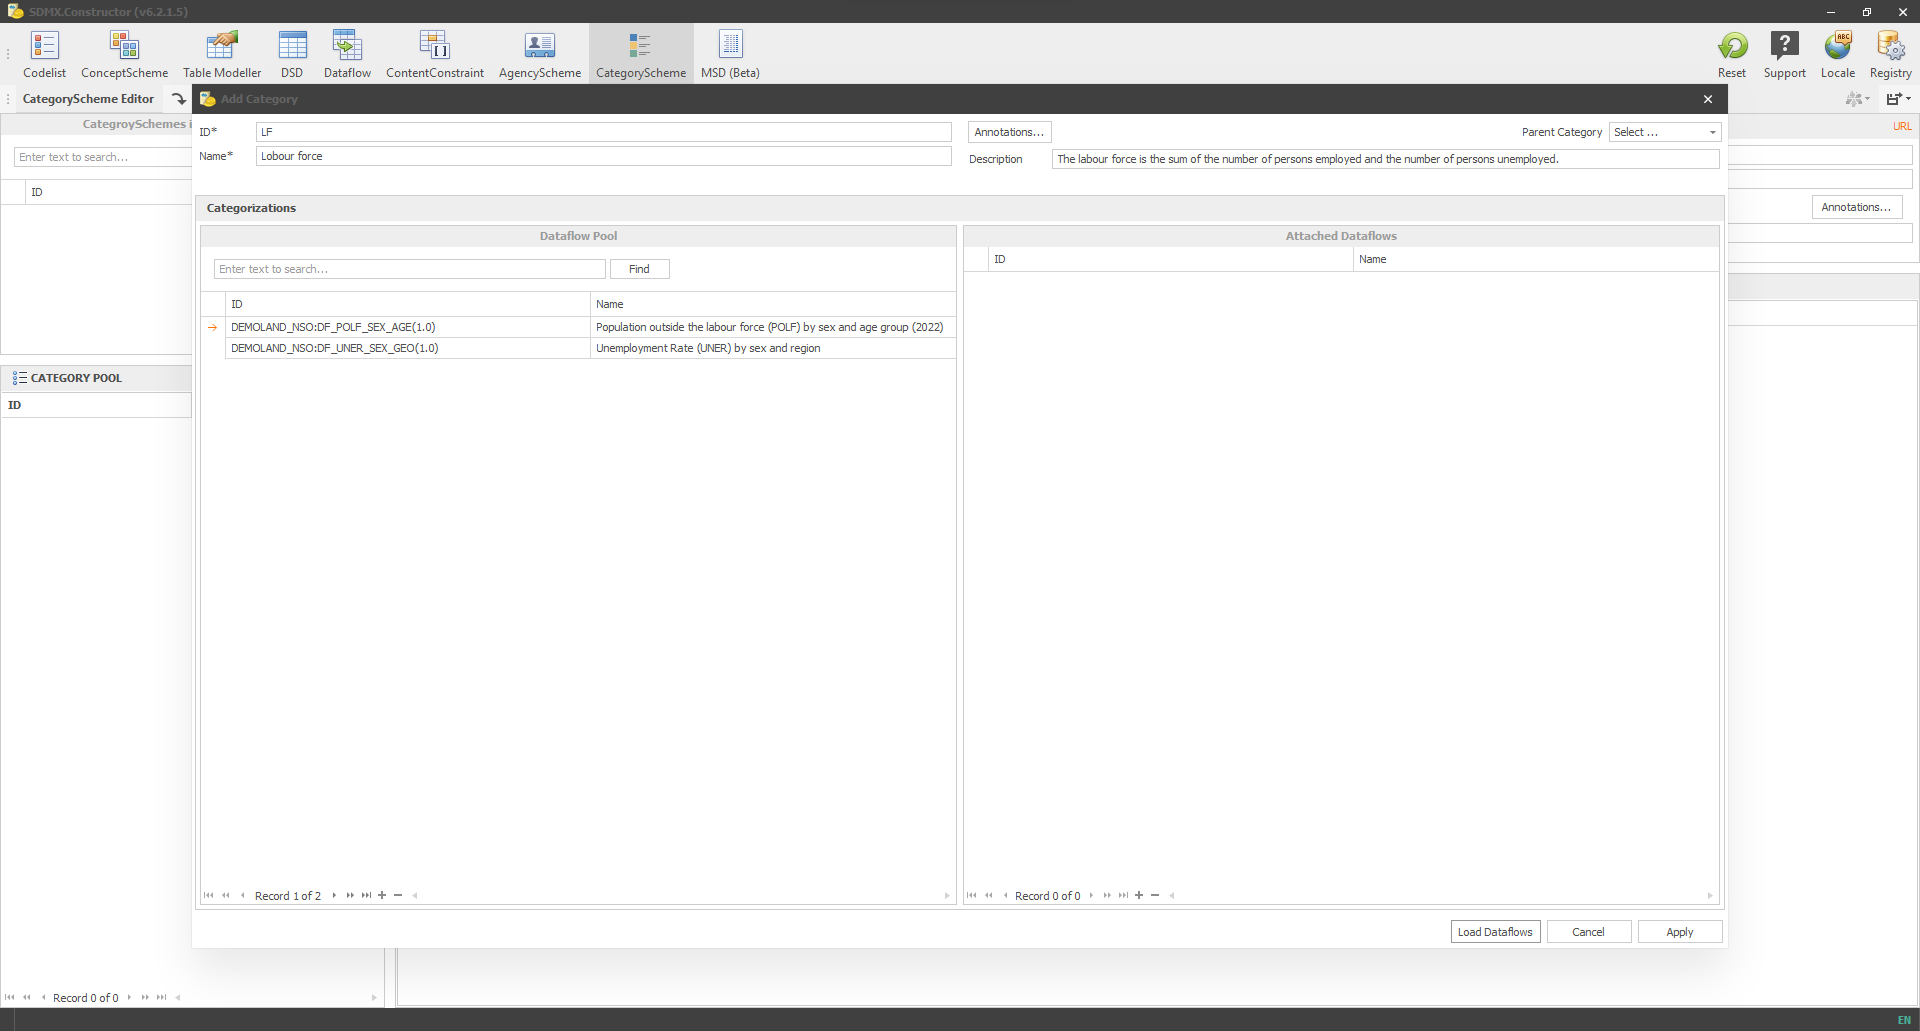 Click here to enlarge the image
- Select both the dataflows and move (by dragging and dropping) to the Attached Dataflows pane on the right, as shown below. Click on Apply.
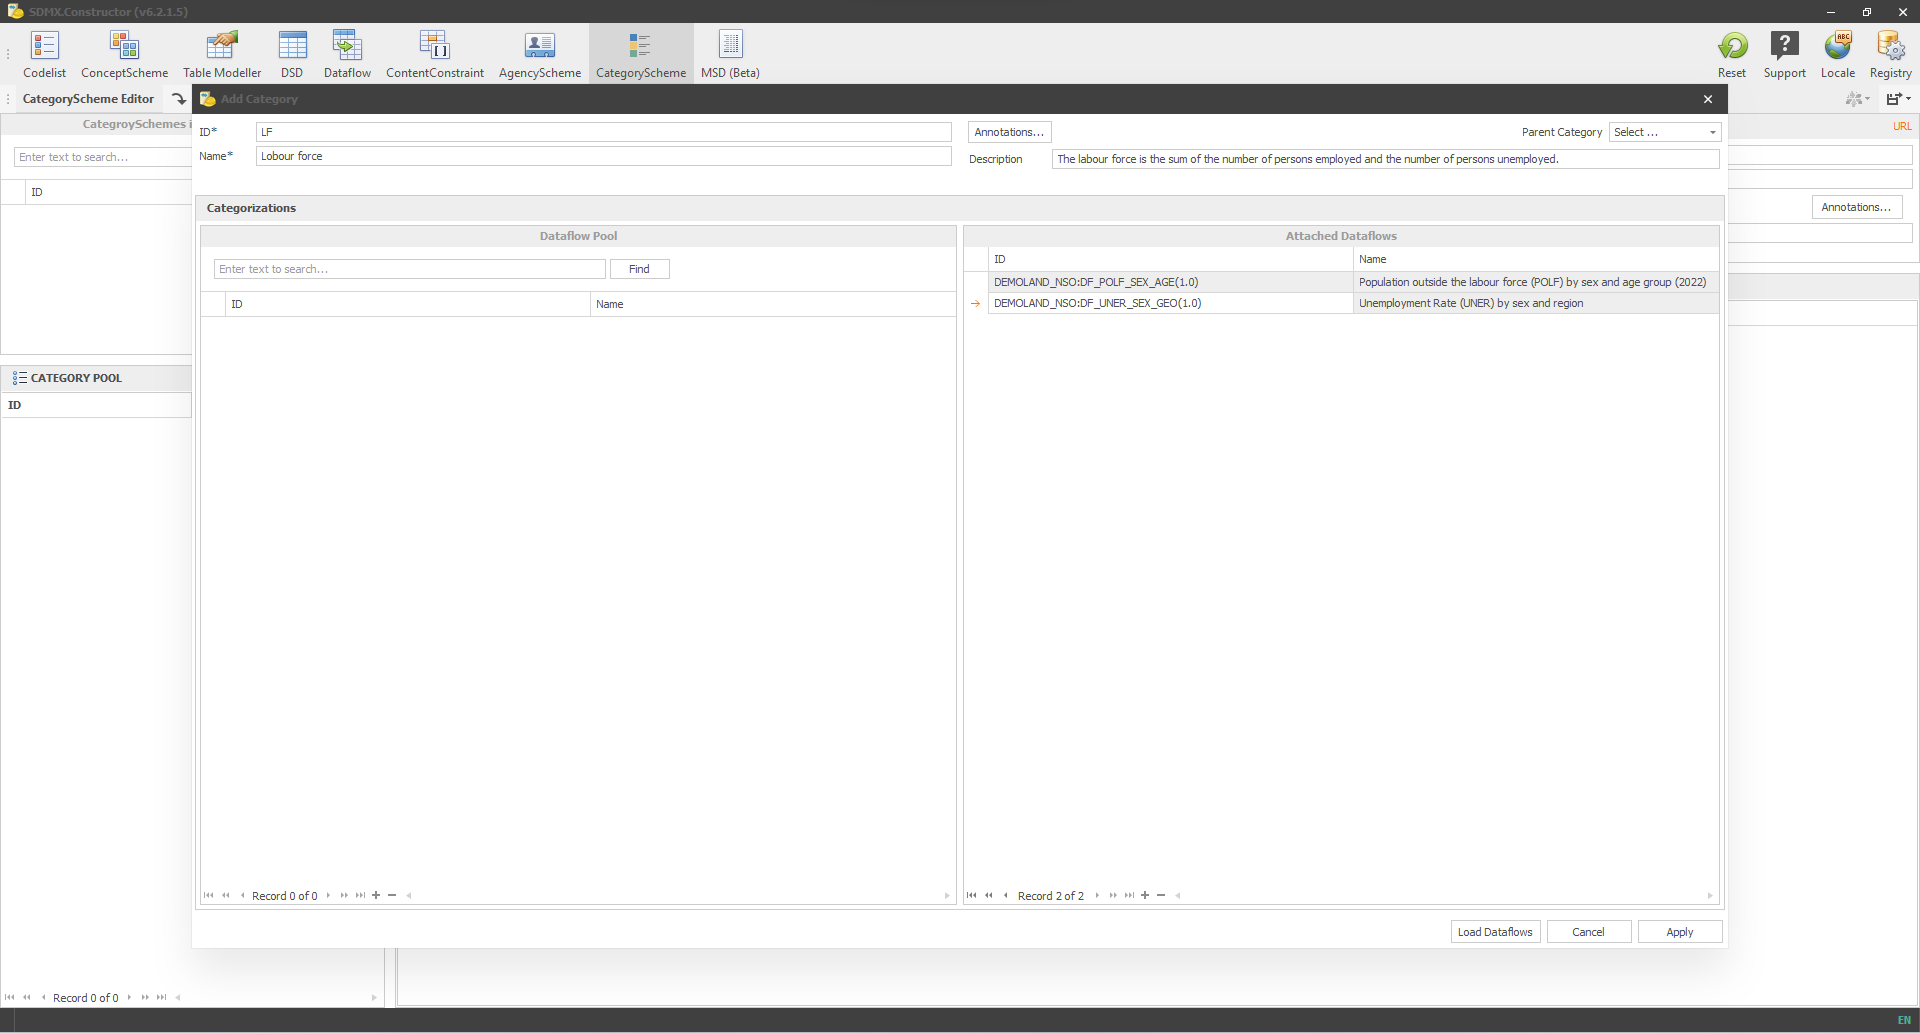 Click here to enlarge the image
- Clicking “Apply” in the previous step will take you to the following window, showing the entry into the CATEGORY POOL.
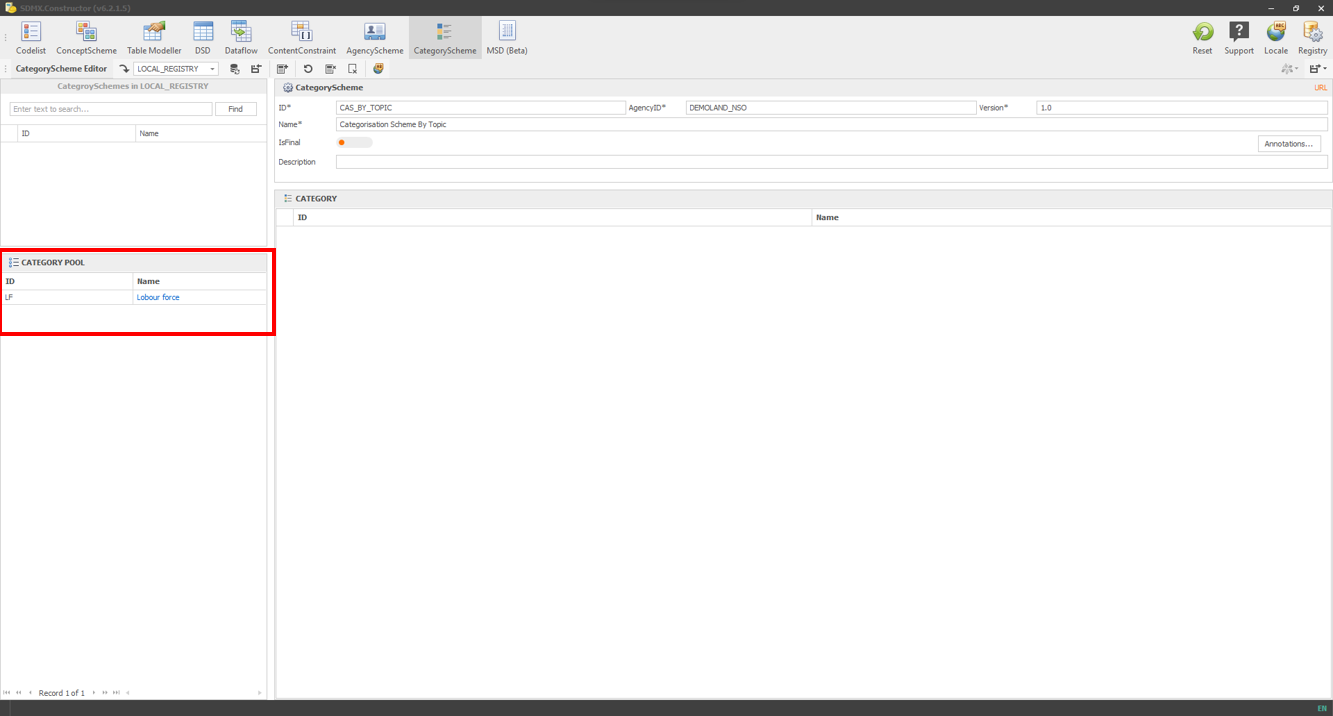 Click here to enlarge the image
- Move it to the right pane, as shown below.
 Click here to enlarge the image
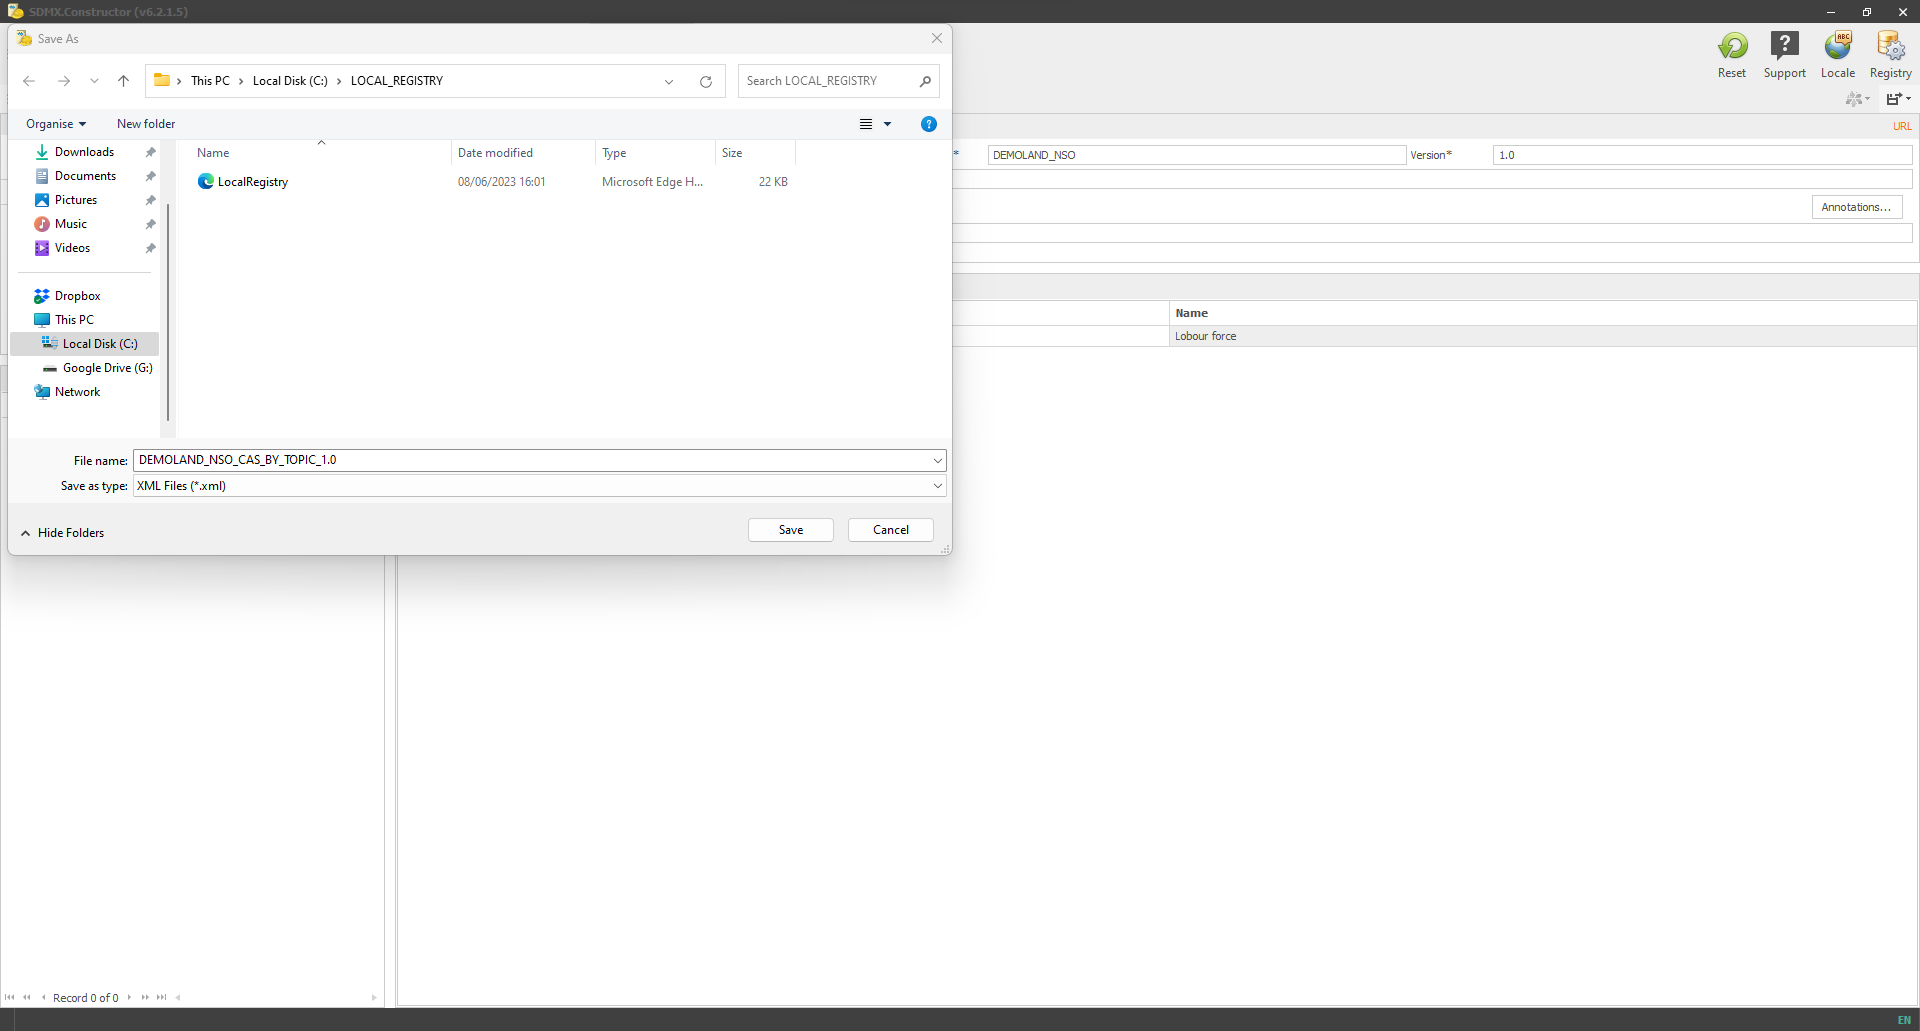
- Then hit Save (Save without descendants), and it will show the pop-up windows to ensure the location where it saves the file, as shown below.
 Click here to enlarge the image
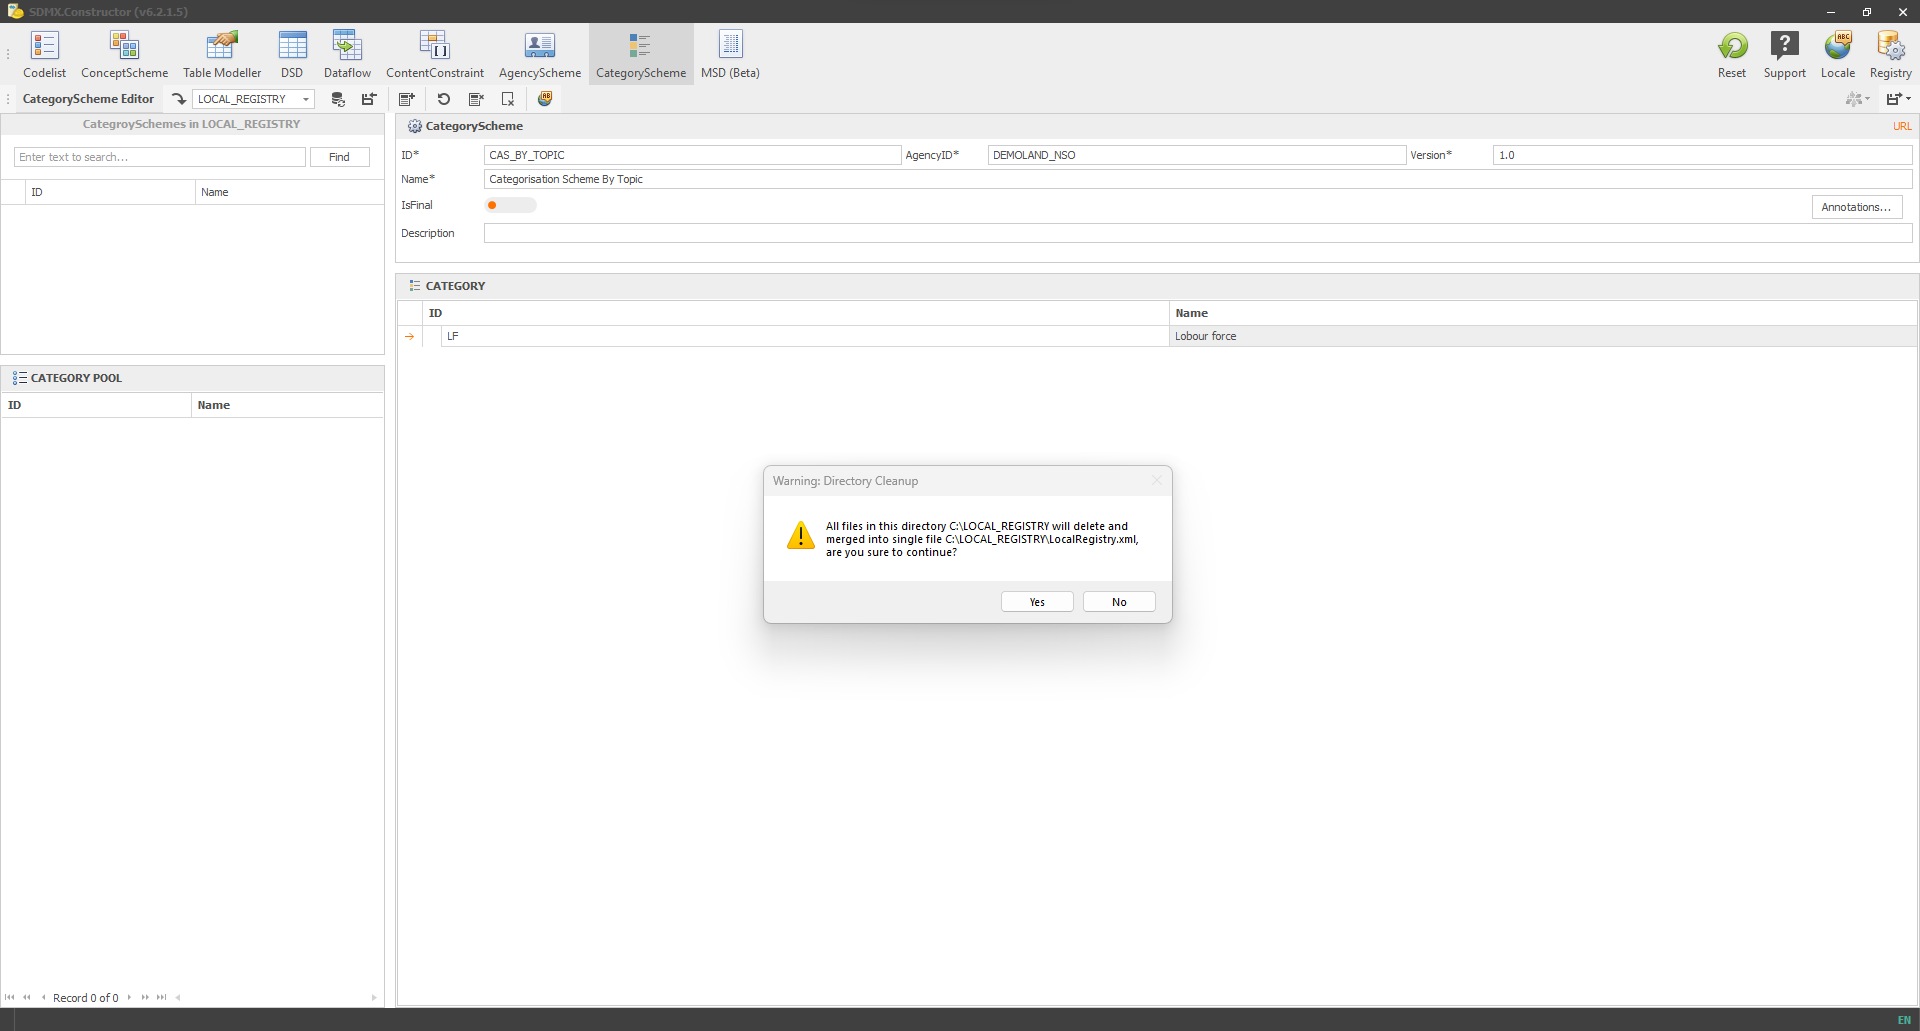
- Clicking on Save will ask the confirmation to merge the file. Select Yes.
 Click here to enlarge the image
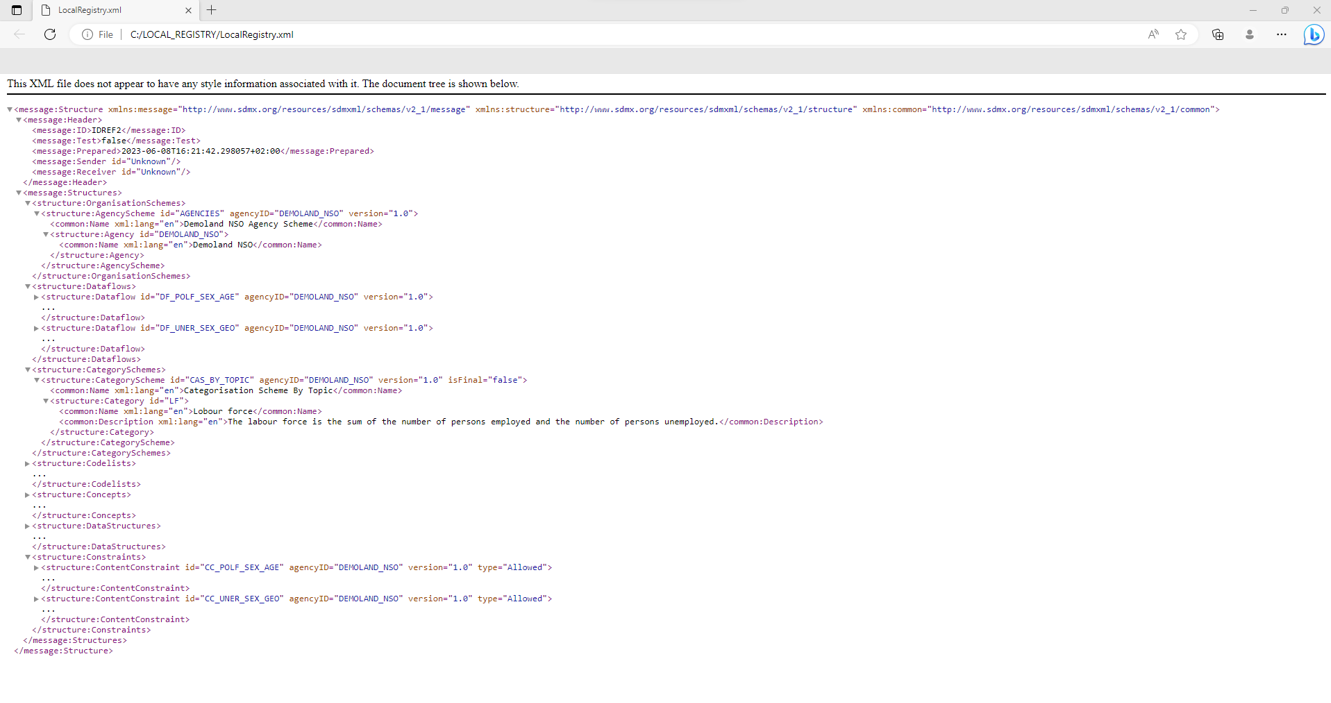
- The XML file (by going to the location of the folder we created before and opening the XML file) would be like the one below.