4.8 Uploading XML file to the DLM
You can upload the XML file containing the SDMX artefacts to the .Stat Data Lifecycle Manager (DLM). The DLM could be on the cloud or local computer (Localhost). Here is one case illustrated where we upload the XML file we created and saved using the SDMX Constructor in a folder to a locally hosted instance of the DLM.
Note on artefact versioning: Artefact versioning is crucial for managing SDMX artefacts, as it prevents conflicts when uploading structures to the DLM. This is especially important when multiple users work on the same artefact simultaneously or when updating artefacts over time. You may recall the usual place (in the right corner of the respective windows) to enter the version number in the user interface for creating or modifying artefacts in the SDMX Constructor.
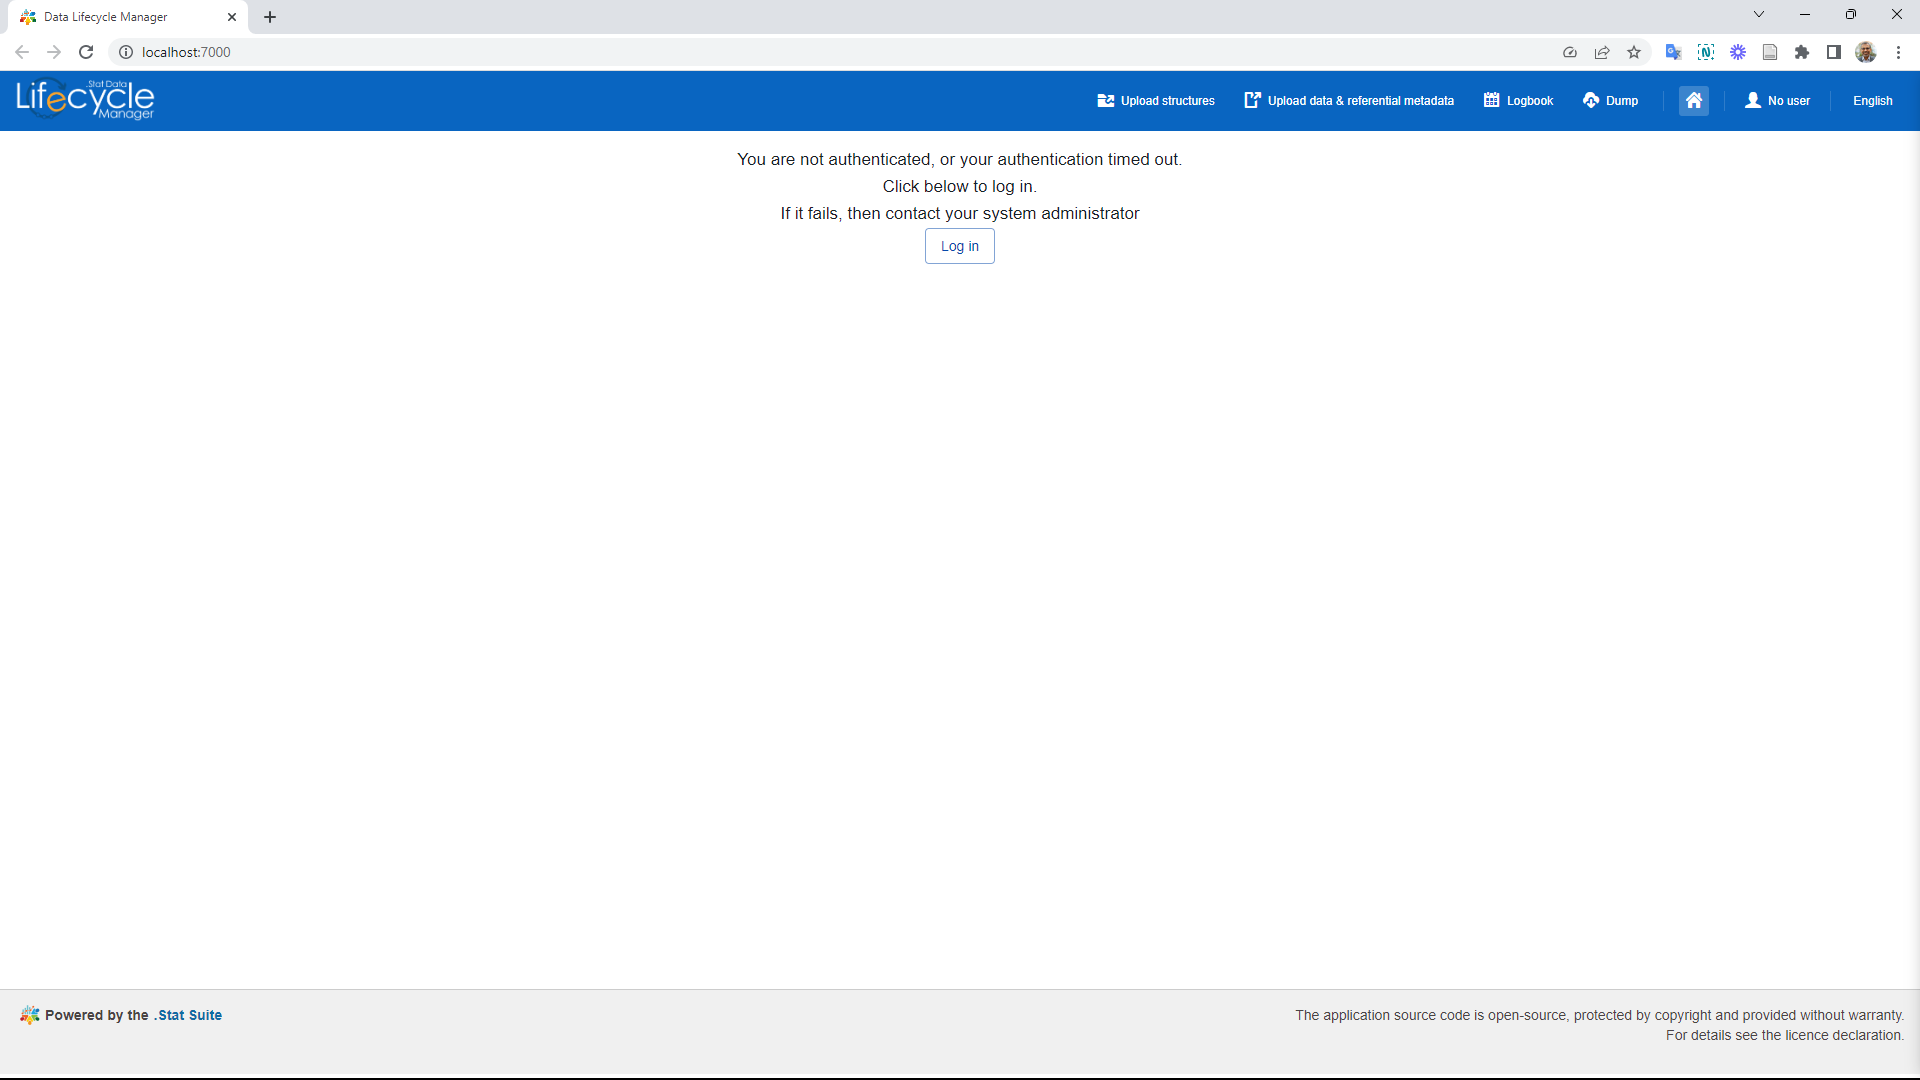
- Start the DLM. Configured as localhost, it will look like the following.
 Click here to enlarge the image
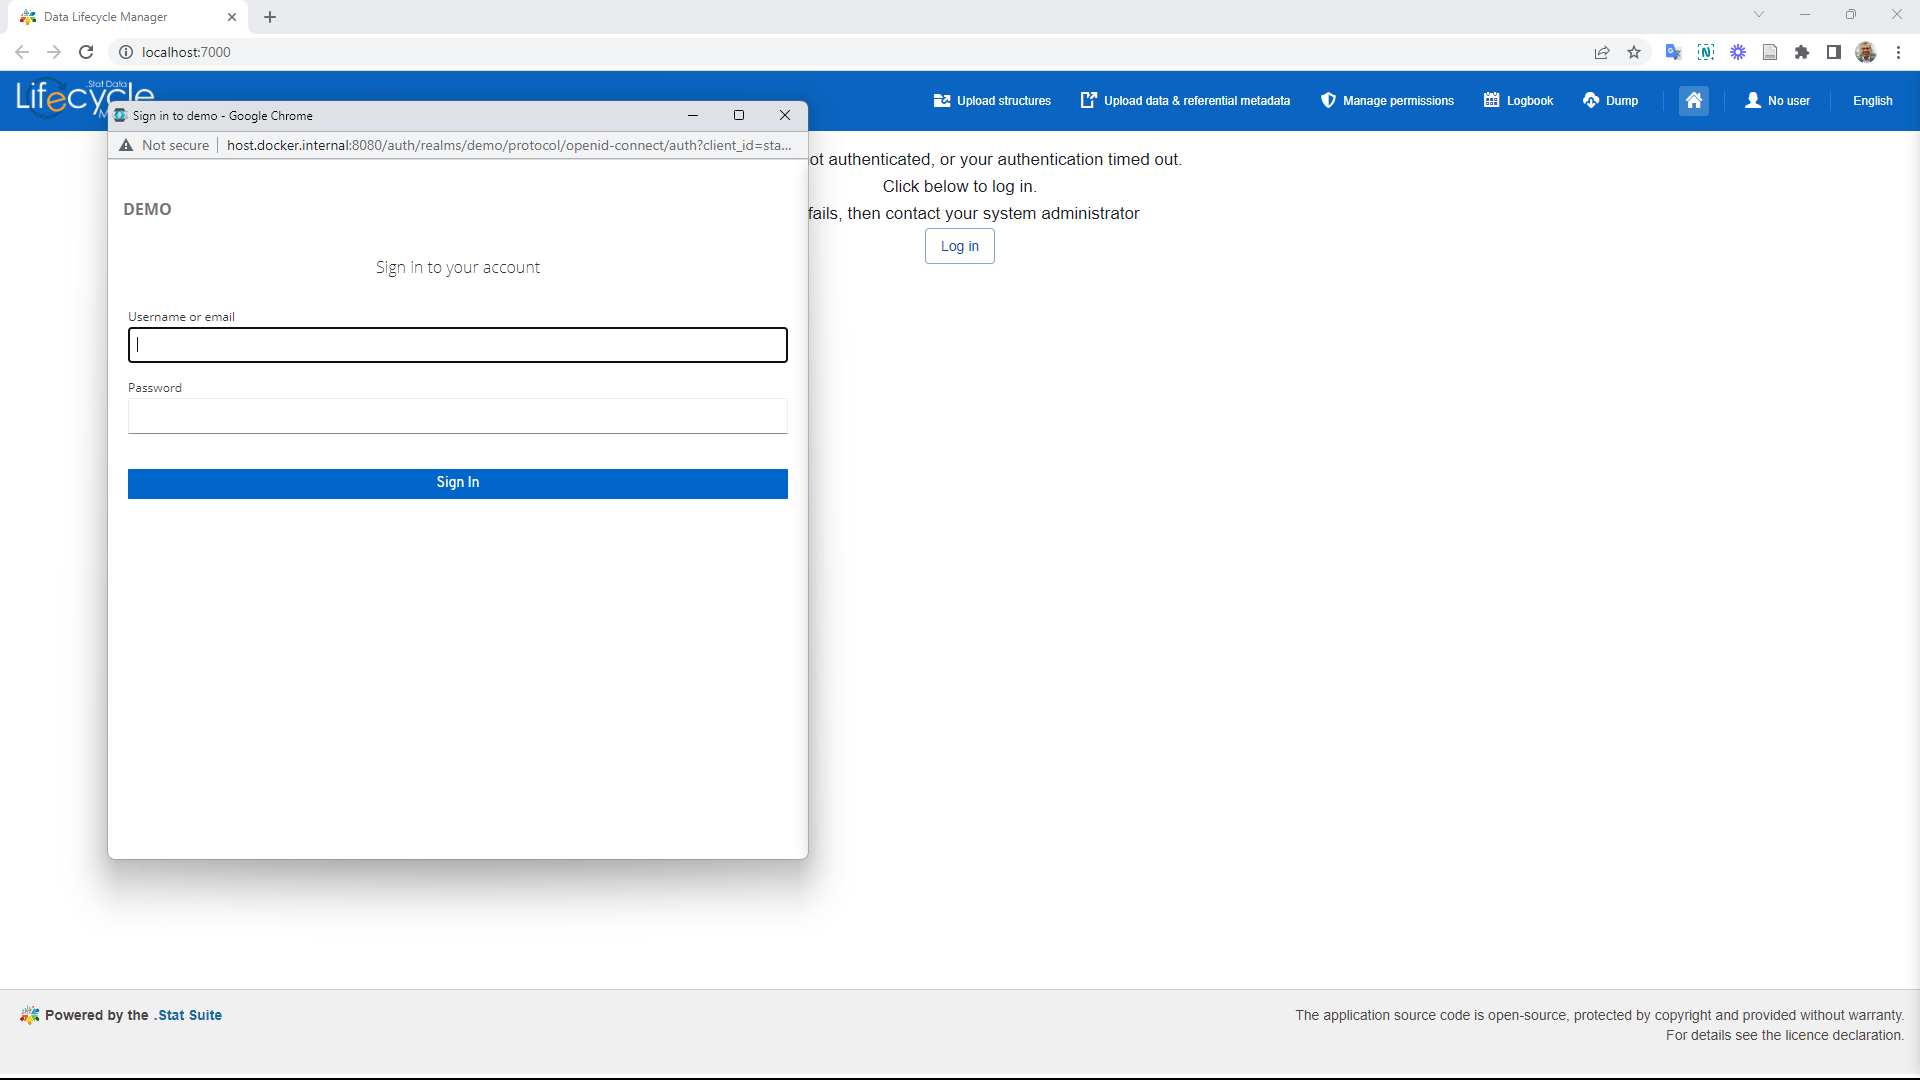
- Login using your credentials.
 Click here to enlarge the image
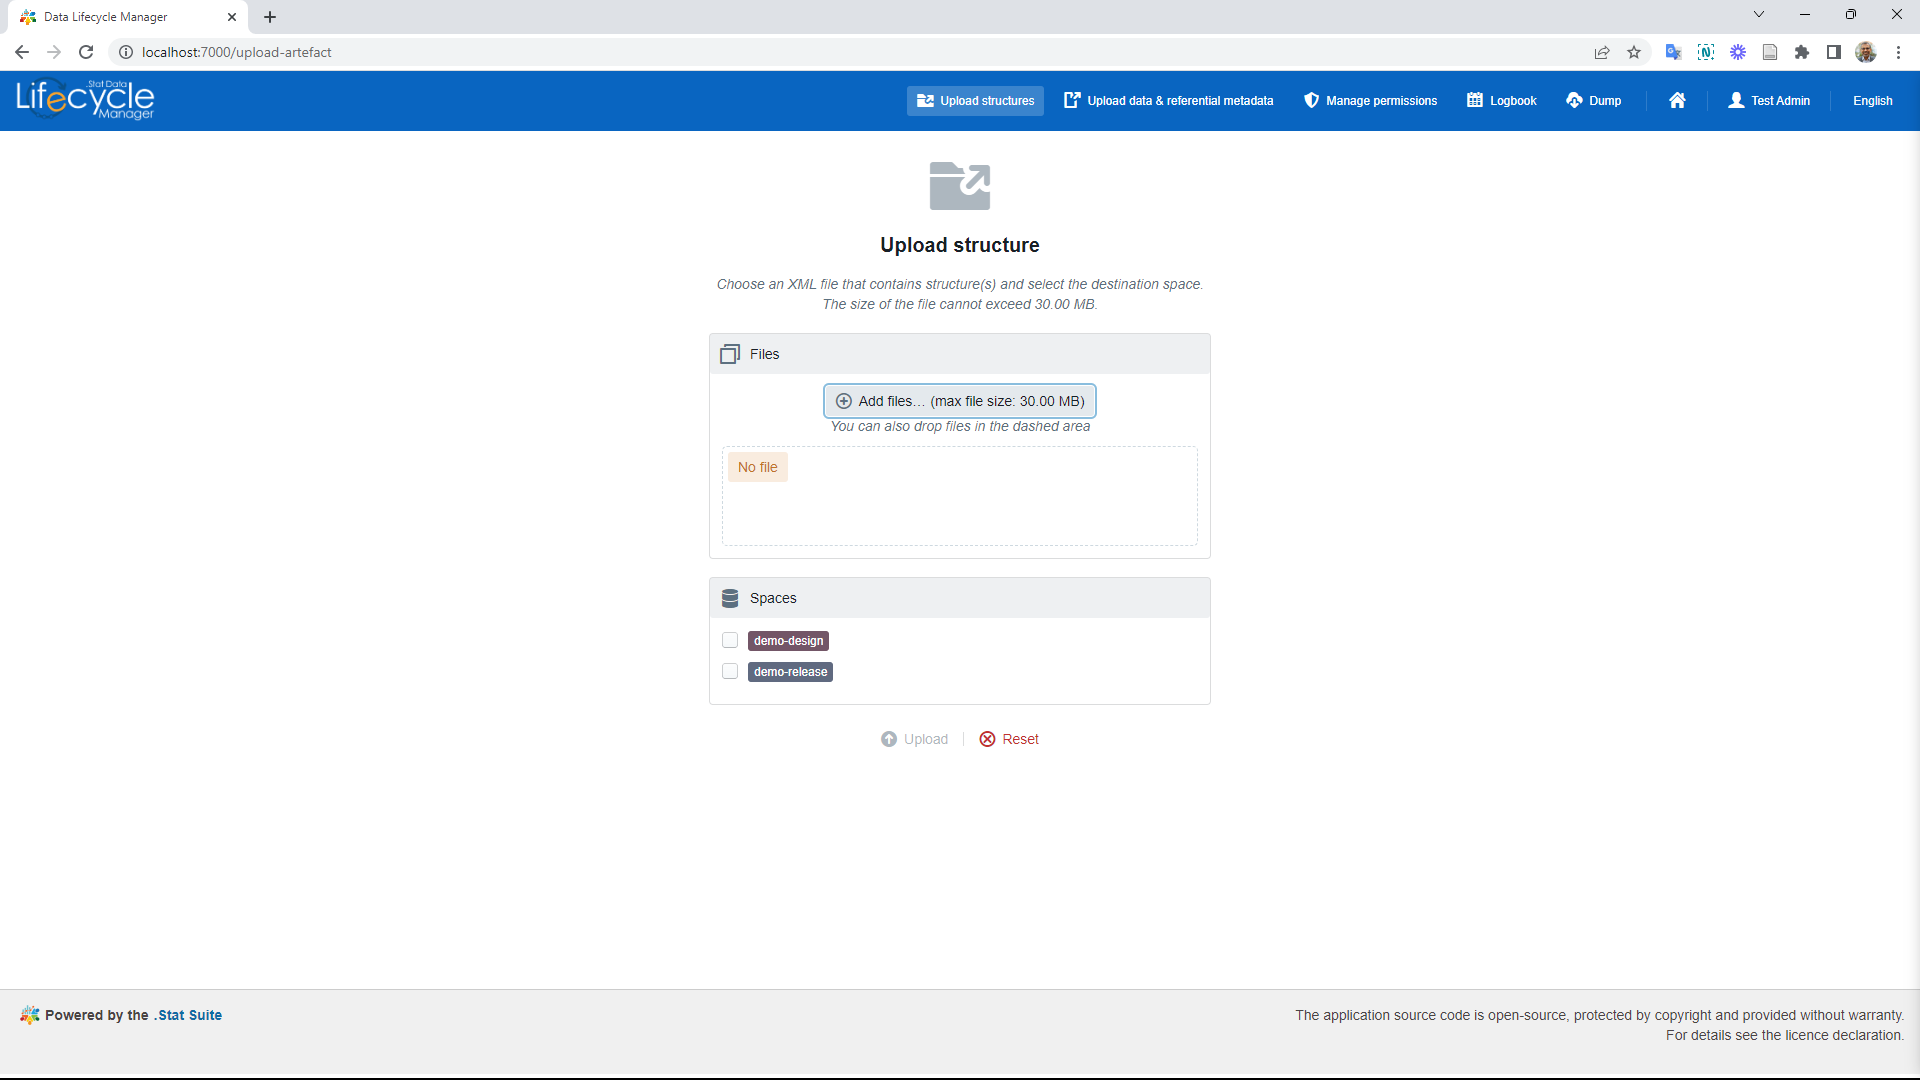
- Click on the ‘Upload structures’ button as shown below:
 Click here to enlarge the image
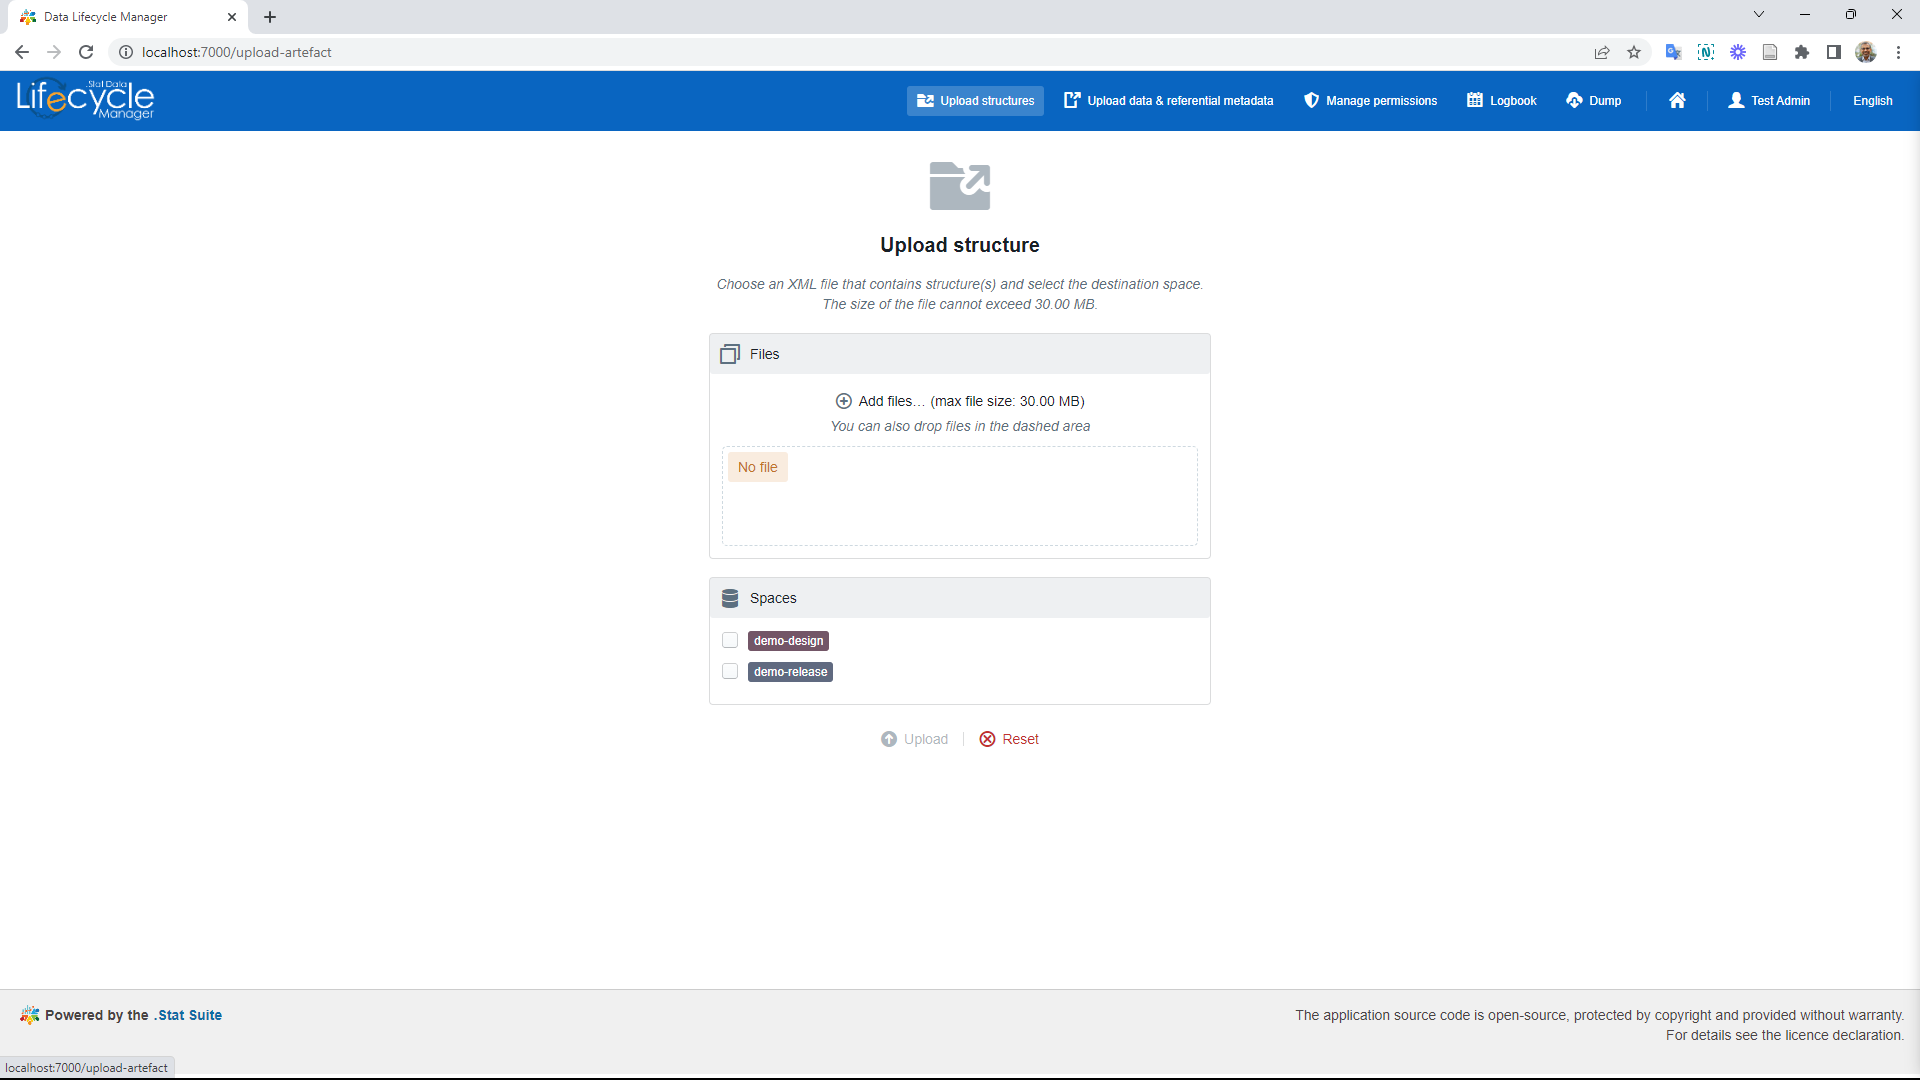
- Click on ‘Add files’ as shown below.
 Click here to enlarge the image
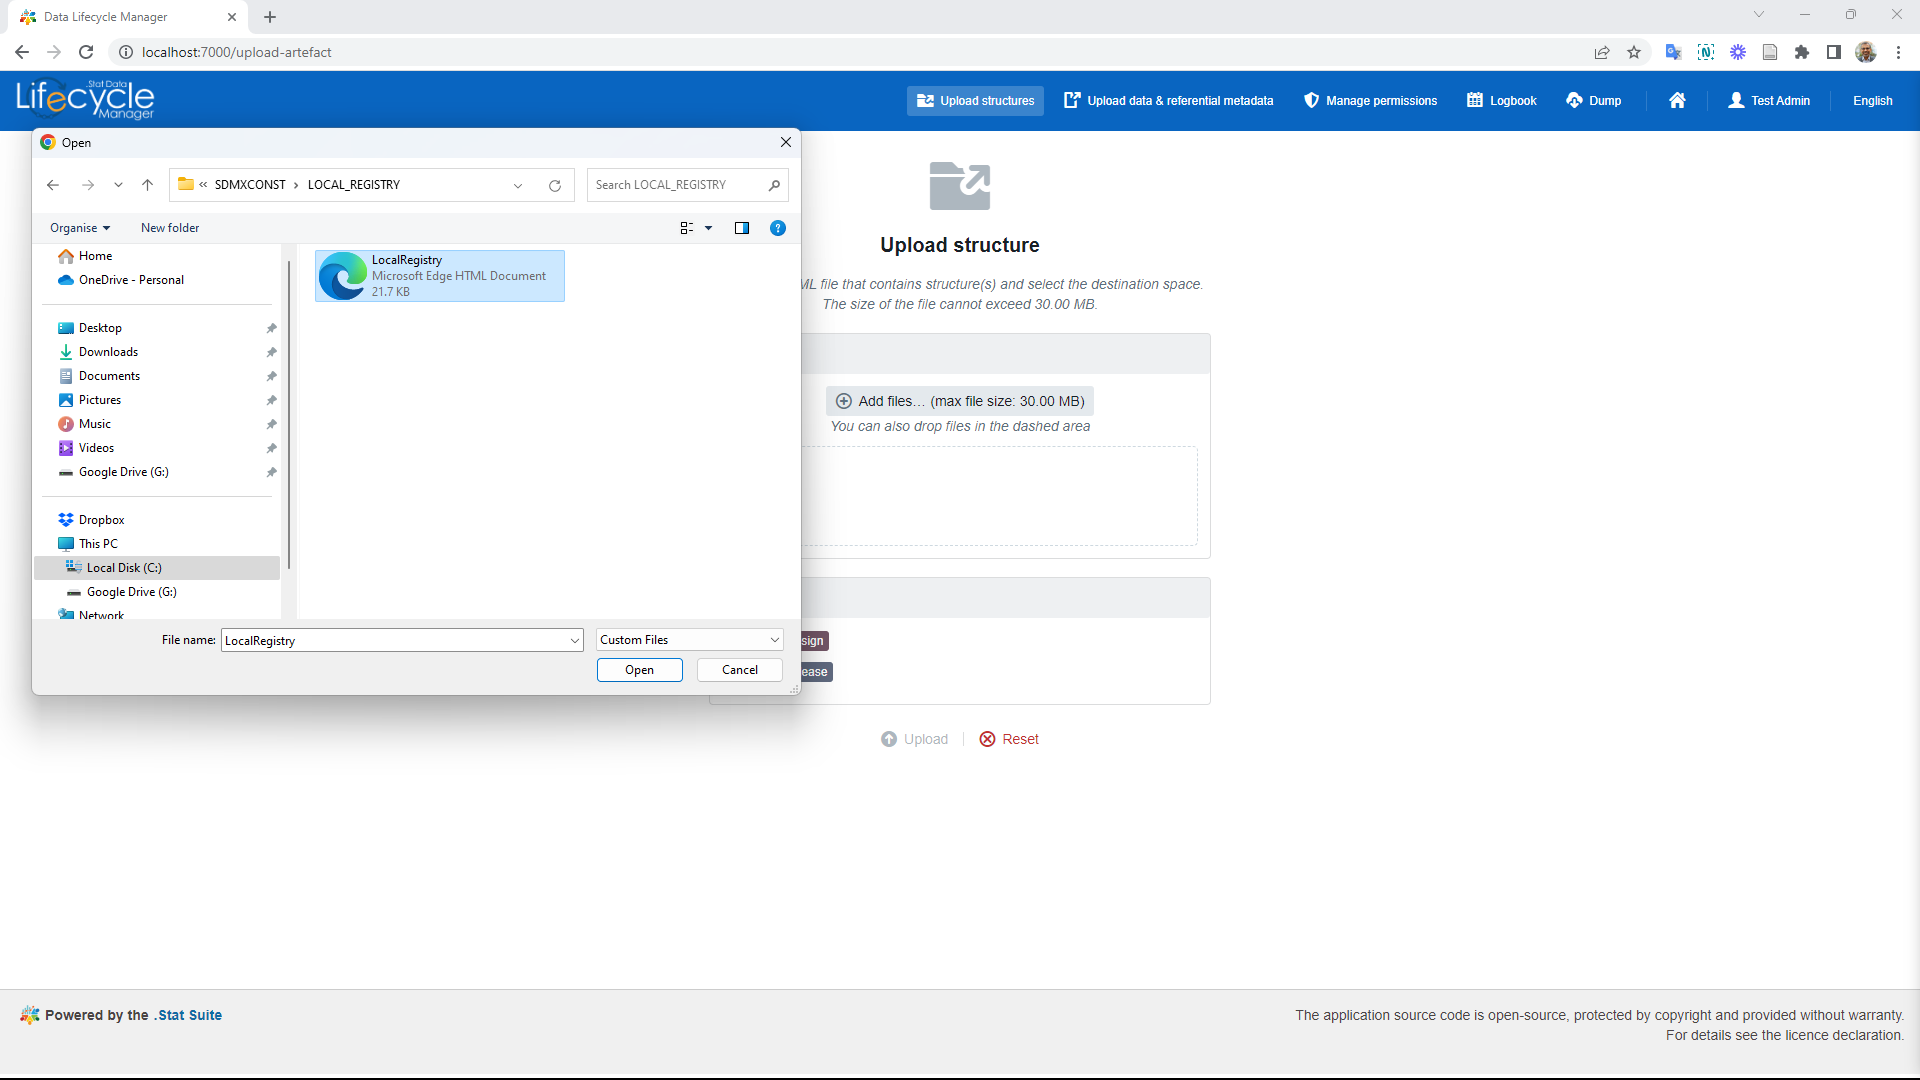
- Select the XML file we created before from the folder as shown below. (Note that the LocalRegistry.xml file can be uploaded at once and may contain multiple artefacts.)
 Click here to enlarge the image
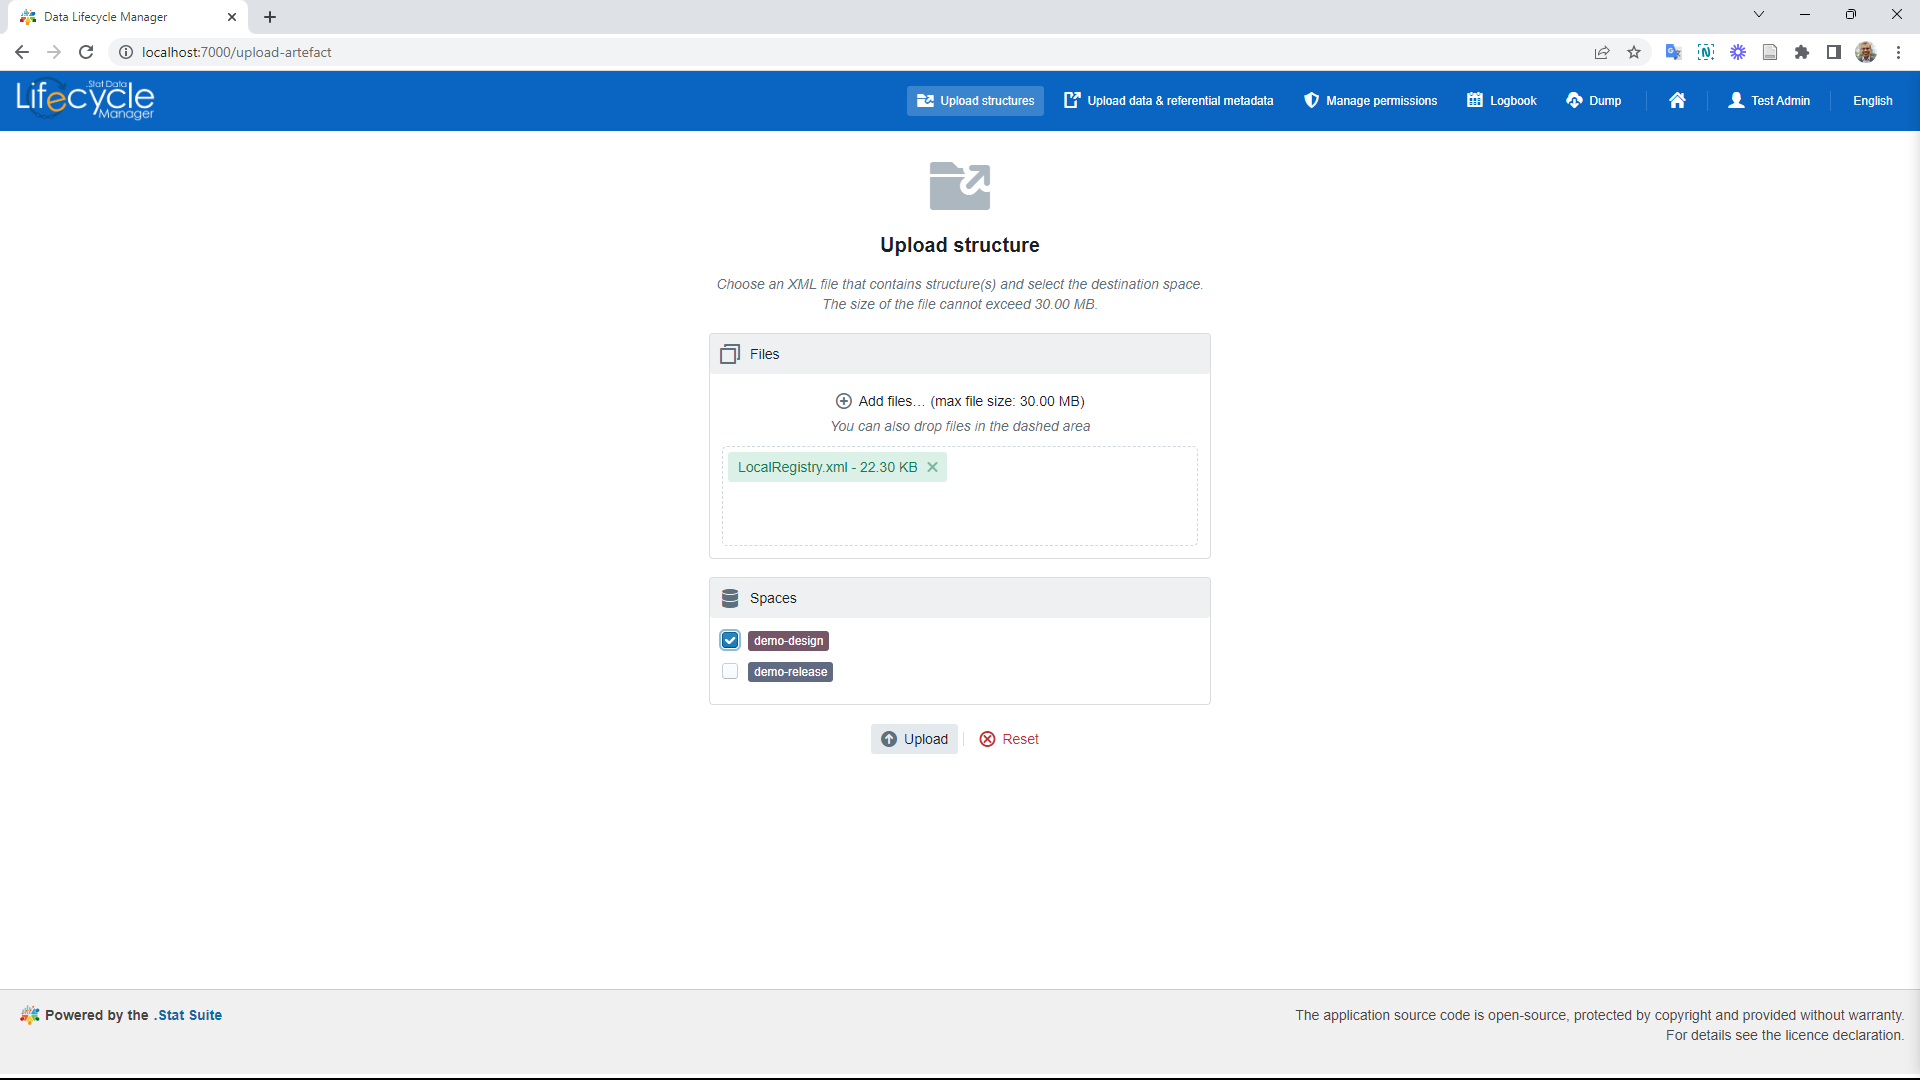
- After adding the file, select the ‘demo-design’ space, as shown below.
 Click here to enlarge the image
- Click upload as shown below.
 Click here to enlarge the image
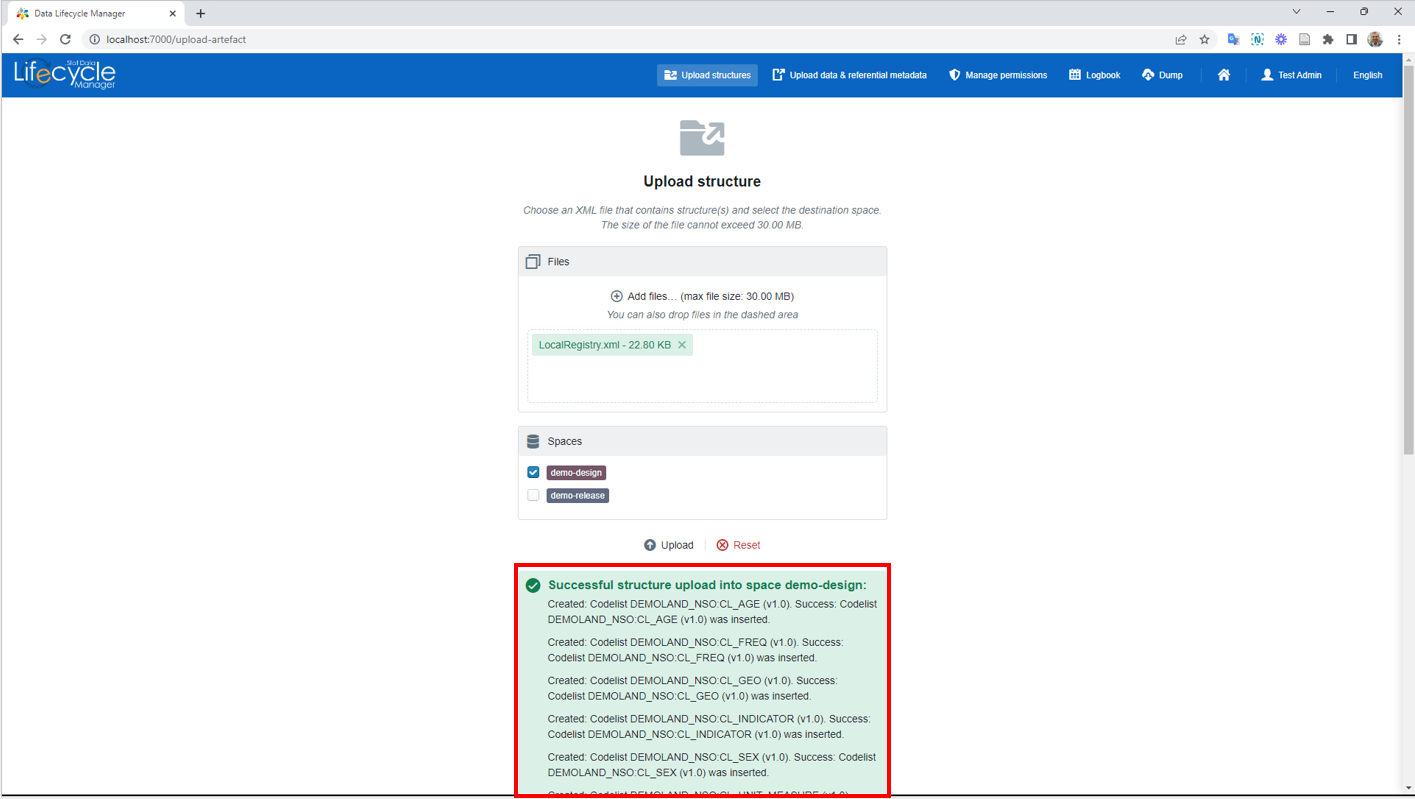
- As shown below, the green background and the message will indicate the successful XML file upload.
 Click here to enlarge the image
- Clicking the Home icon will take you to the following interface.
 Click here to enlarge the image
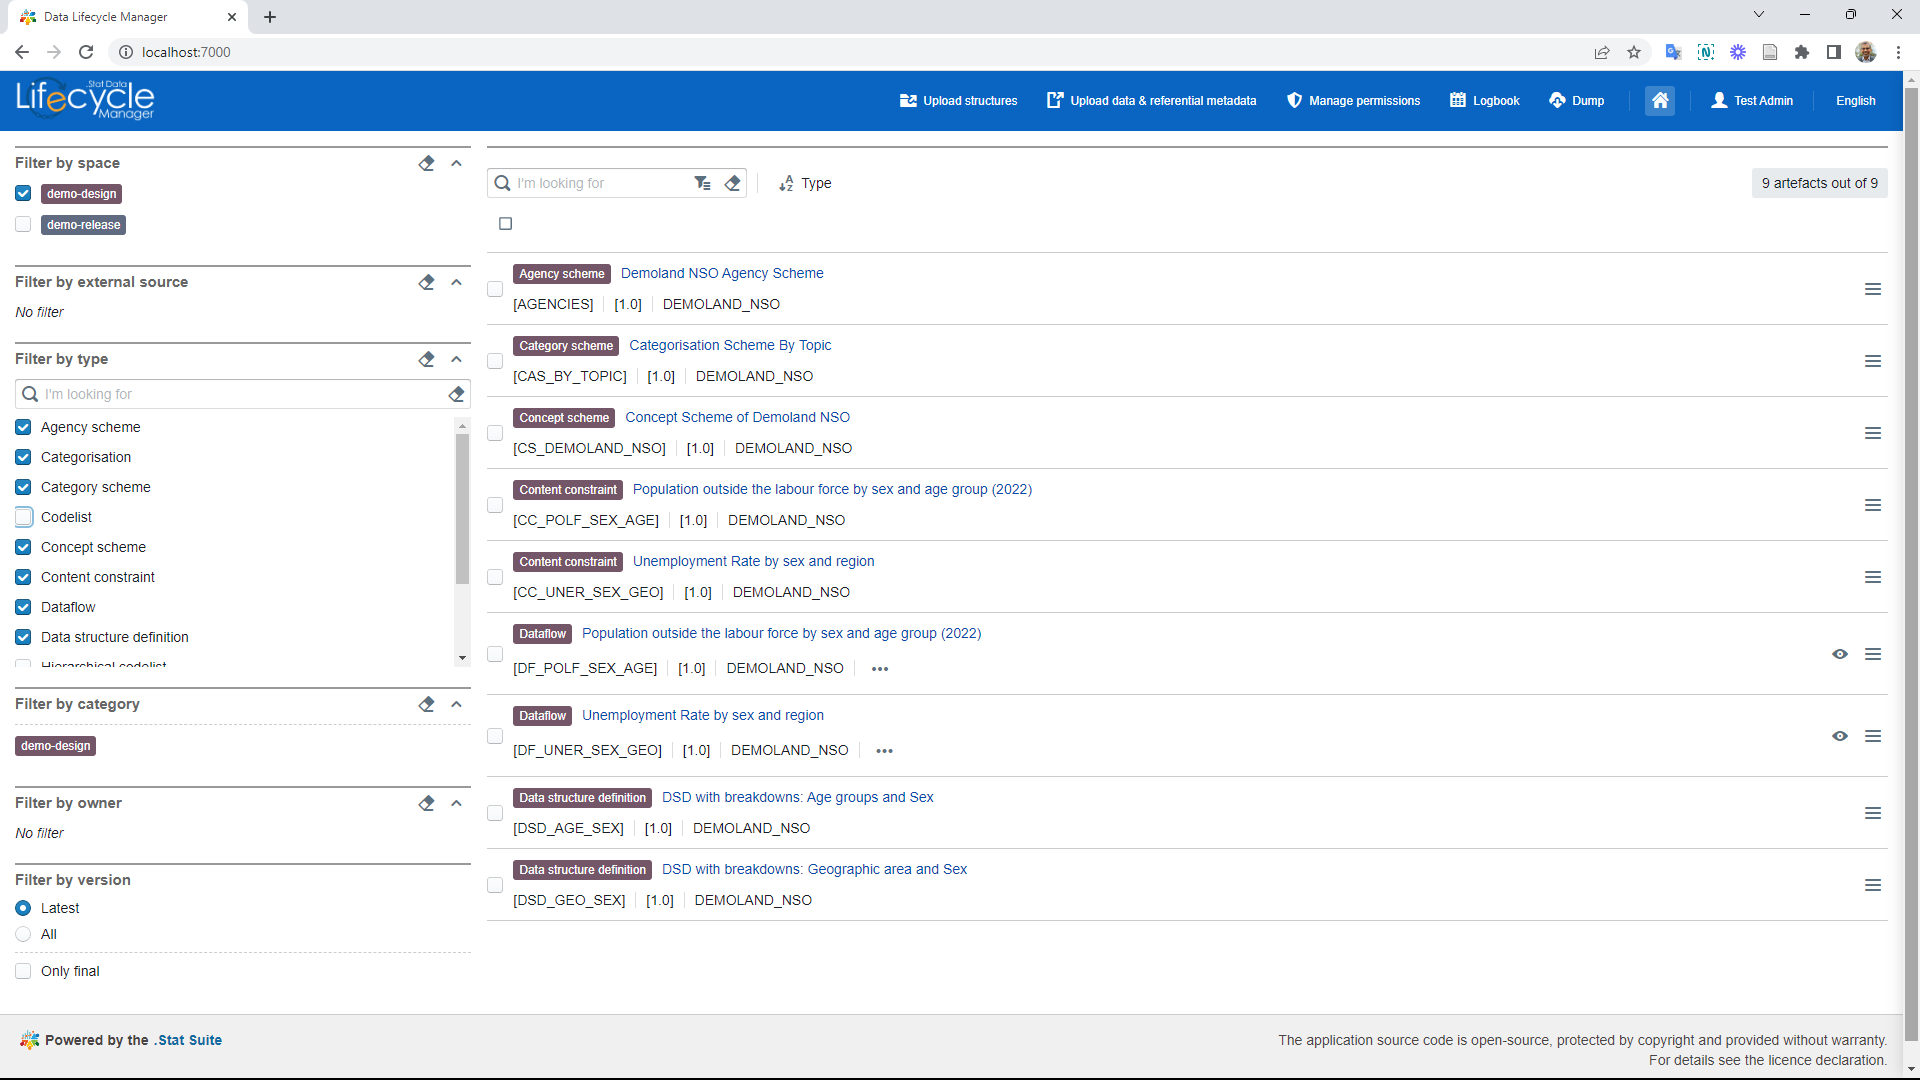
- Here, selecting the options on the left navigation panel will show the artefacts on the main pane, as shown below.